Wooden Key Racks to Sell: A Small Entryway Product With a Clear Purpose
Disclosure: This article contains affiliate links. I may earn a commission if you purchase through them.
A key rack has a simple promise: give everyday essentials a place near the door. That clarity makes it an appealing woodworking product to develop. The design does not need elaborate decoration, but it does need comfortable spacing, dependable mounting, and a finish that holds up to ordinary handling.
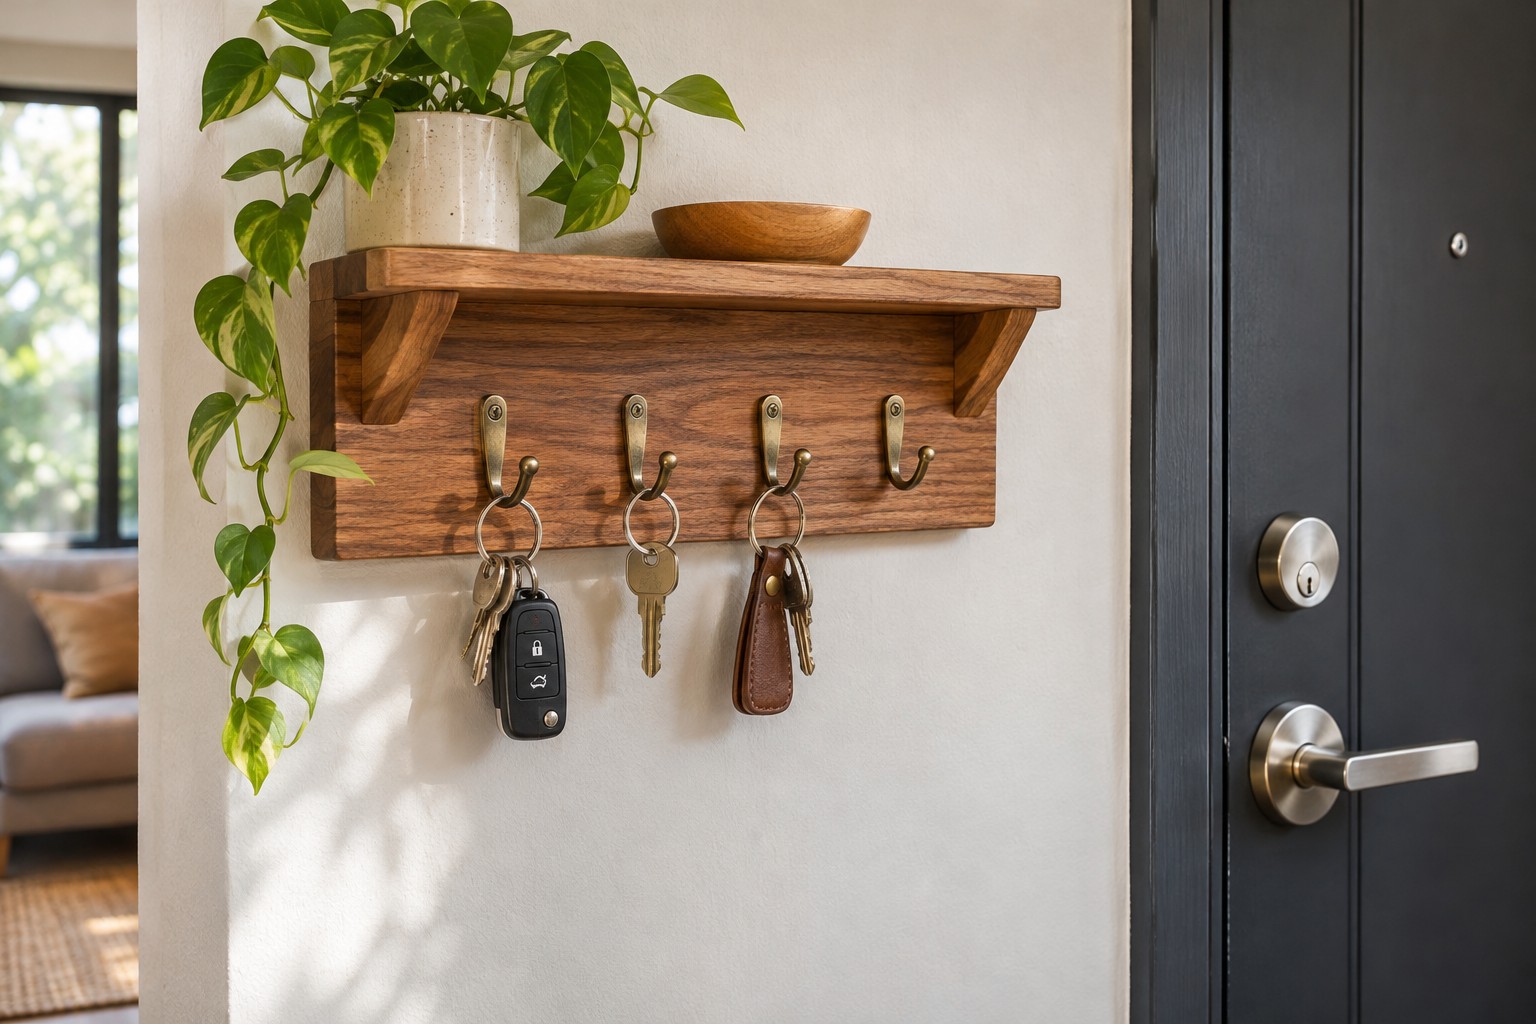
Start with the items people actually hang
Keys, lanyards, and small accessories take up more space than individual hooks suggest. Lay out real items on a prototype before fixing the spacing. Consider whether neighboring key rings can be removed without tangling.
Choose a narrow offer: a simple hook rail, a rail with a shallow shelf, or a compact mail-and-key organizer. Each adds a different amount of construction and installation work. Begin with the version you can make and explain most clearly.
Treat mounting as part of the design
Select a suitable attachment method and evaluate the complete assembly. Explain the hardware included, compatible surfaces, and any installation requirements. A screw hidden behind a decorative detail is still part of the product’s performance.
Avoid offering an unsupported universal weight capacity. Hooks, wood, fasteners, wall type, and installation all affect performance. If the rack is intended only for keys and light accessories, say so clearly instead of staging it with a heavy bag.
Give the product a recognizable appearance
A well-proportioned board, consistent hook style, and clean edge profile can create a strong identity. Offer a limited number of finishes and hardware combinations. Too many choices can turn a simple product into a collection of parts you rarely use.
If you add names or short text, define the character limit and placement. Make samples that show the actual lettering method. Keep personalization from interfering with mounting or making the hook area awkward to use.
Show the whole buying decision
Photograph the rack installed, show it empty, and provide a close-up of the hooks and mounting area. Include full dimensions and the projection from the wall. State whether installation supplies, templates, and instructions are included.
Calculate time for drilling, hardware installation, finishing, and packaging. Protect hooks during shipping so they do not damage the wood. Test a small run, then refine the size or finish options based on actual orders and recurring customer questions.
Find a plan that fits your next step
Choose a project that matches your tools, experience, and intended use. Check the full materials list, dimensions, and construction details before buying supplies. The offer below is a separate resource; the examples and AI image in this article do not establish which projects are included.